

DIY Logo to PES Conversion: Make Your Designs Stitch-Ready
Introduction
Want to stitch your logo onto hats, shirts, or bags but don't know how to Convert Logo to PES Embroidery File? Professional digitizing services can be expensive, especially if you're just starting out. The good news? You can learn how to Convert Logo to PES Embroidery File yourself with the right tools and techniques.
In this guide, we'll walk you through:
Best free & paid software to Convert Logo to PES Embroidery File
Step-by-step digitizing process for perfect PES files
Optimizing your design when you Convert Logo to PES Embroidery File
When to hire a pro instead of DIY conversion
Whether you're a hobbyist or small business owner, this tutorial will help you master how to Convert Logo to PES Embroidery File and turn any design into an embroidery-ready format.
What You’ll Need to Convert a Logo to PES
Before starting, gather these essentials:
1. A High-Quality Logo File
-
Vector files (AI, EPS, SVG) work best—they scale without losing quality.
-
If you only have a JPG or PNG, use tracing tools to convert it to vector first.
2. Digitizing Software
-
Free options: Ink/Stitch, SewArt (limited)
-
Paid options: Embrilliance, Hatch Embroidery
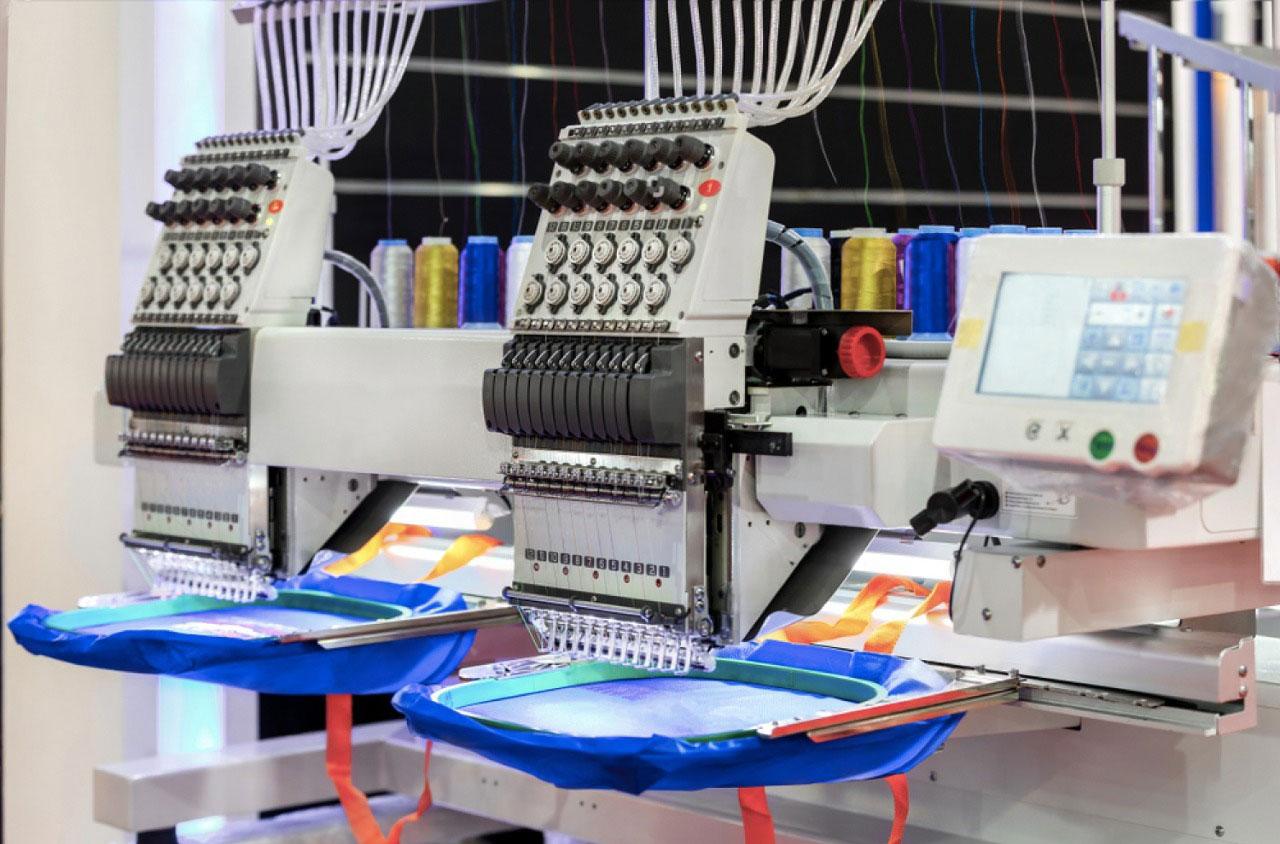
3. A Brother Embroidery Machine
-
PES files are primarily for Brother machines (but can be adapted for others).
4. Basic Digitizing Knowledge
-
Understanding stitch types (fill, satin, running) helps prevent errors.
Step 1: Prepare Your Logo for Digitizing
A. Clean Up the Design
-
Remove unnecessary details (tiny text, gradients, shadows).
-
Simplify complex shapes—embroidery has limits!
B. Convert to Vector (If Needed)
-
Use Inkscape (free) or Adobe Illustrator to trace a raster image (JPG/PNG).
-
Smooth out jagged edges for cleaner stitches.
C. Choose the Right Size
-
Measure your hoop space (e.g., 4x4 inches).
-
Resize the logo before digitizing to avoid distortion later.
Step 2: Digitize Using Free Software (Ink/Stitch Tutorial)
A. Install Ink/Stitch (Free & Open-Source)
-
Download Inkscape (if you don’t have it).
-
Add the Ink/Stitch extension (follow setup instructions).
B. Import & Trace the Logo
-
Open your vector file in Inkscape.
-
Use Path > Trace Bitmap (if working with raster images).
C. Assign Stitch Types
-
Fill Stitch: For solid areas (best for large shapes).
-
Satin Stitch: For borders and text (creates smooth lines).
-
Running Stitch: Outlines and fine details.
D. Adjust Stitch Settings
-
Density: 0.4mm for fills (avoids bulky fabric).
-
Underlay: Adds stability (use zigzag for stretchy fabrics).
-
Pull Compensation: Prevents distortion (add 10-15%).
E. Export as PES
-
Go to Extensions > Ink/Stitch > Export.
-
Select PES as the format.
-
Save and transfer to your embroidery machine.
Step 3: Test Stitch & Fix Common Issues
A. Always Stitch a Test First!
-
Use scrap fabric similar to your final project.
-
Check for:
-
Puckering (reduce stitch density).
-
Gaps (adjust underlay or overlap stitches).
-
Thread breaks (check tension or redesign dense areas).
-
B. Troubleshooting Tips
| Problem | Solution |
|---|---|
| Design too dense | Lower stitch density (0.3-0.5mm) |
| Stitches look messy | Simplify small details |
| Fabric pulls | Add more stabilizer |
| Thread breaks | Check tension; avoid sharp angles |
When to Hire a Professional Digitizer
DIY works for simple logos, but consider a pro if:
-
Your design has gradients or shadows.
-
You need 3D puff embroidery.
-
The logo is for commercial use (must look perfect).
Cost: $10–$50 per design (worth it for complex artwork).
Top 3 Paid Software for Better Results
If you’re serious about DIY digitizing, these programs help:
1. Hatch Embroidery ($1,000+)
✔ Best for professionals
✔ Auto-digitizing + manual editing
2. Embrilliance ($129–$600)
✔ User-friendly for beginners
✔ Good for monogramming
3. Wilcom TrueSizer (Free Viewer)
✔ Edit existing PES files
✔ Check stitch counts
Conclusion
Converting a logo to PES yourself is totally doable with free tools like Ink/Stitch—just follow our step-by-step guide. Remember:
-
Start with a clean vector file.
-
Test stitch before finalizing.
-
Simplify complex designs.
For intricate logos, hiring a digitizer saves time and guarantees quality. But for most DIY projects, you can create professional-looking PES files without spending a fortune.
Now grab your logo, fire up your software, and start stitching!